The media is finally taking notice of a cultural trend this year that may be just the tip of the iceberg - the need of people to get away from the thumb-jamming, ear-pounding demand of our digital devices in order to find some quiet time for themselves away from their phones, tablets, laptops and computers. How many of us walk around all day long with a phone in our hands? And how many meals with family have we seen interrupted by one or all of the gathering disconnect from needed family time in order to text someone or respond to another text? It's maddening.
I was very interested recently to read several articles in the New Yorker, New York Times, Huffington Post and Business Weekly all talking about adult coloring books and their growing popularity. Several have been in the top ten in sales on Amazon.com, and the craft stores can't seem to keep them on their shelves. People are trying to find a way to just put those phones down, de-stress, and find a quiet way to discover some inner peace and creativity.
There are others, like me, who loved to draw and color as a child. I can remember many, many sick days as a youngster growing up when I couldn't go to school (I was sick a lot as a child) where I found comfort in coloring books. I also enjoyed working alongside my sister, whom was a year younger, on coloring projects, showing off our completed works to each other and our parents.
In May I read Thrive, by Arianna Huffington and even took her online course this summer. In her book and in the class Ms. Huffington preaches rest, sleep, meditation, and sorting out people "on our life trains" while putting limits on how and when we choose to marry ourselves to our devices. There were some excellent points to take away from this reading, so I decided to work on these things this summer while I was off from school. The meditation part was hard at first, because our minds are always running. Quieting your mind, I've learned, does not mean ending all thoughts. That's not really possible for those untrained in meditation. But by concentrating on our breathing we can begin to push some random thoughts away temporarily.
The other part of the process was finding projects to do, coloring and crafts, to help me move away from my cell phone. I searched around and found a great coloring set by Creative Designs, which I fell in love with. I have never been a graphic artist and certainly never took a art class, but these sketches are terrific, with suggested color schemes, which I could follow - or not follow. I will say these sketches were exactly what I needed to plug into my inner child. They were so much fun to complete! And the stock they are printed on can be framed, so I also made gifts of some as well. Here are two samples, both now hanging in my home office:
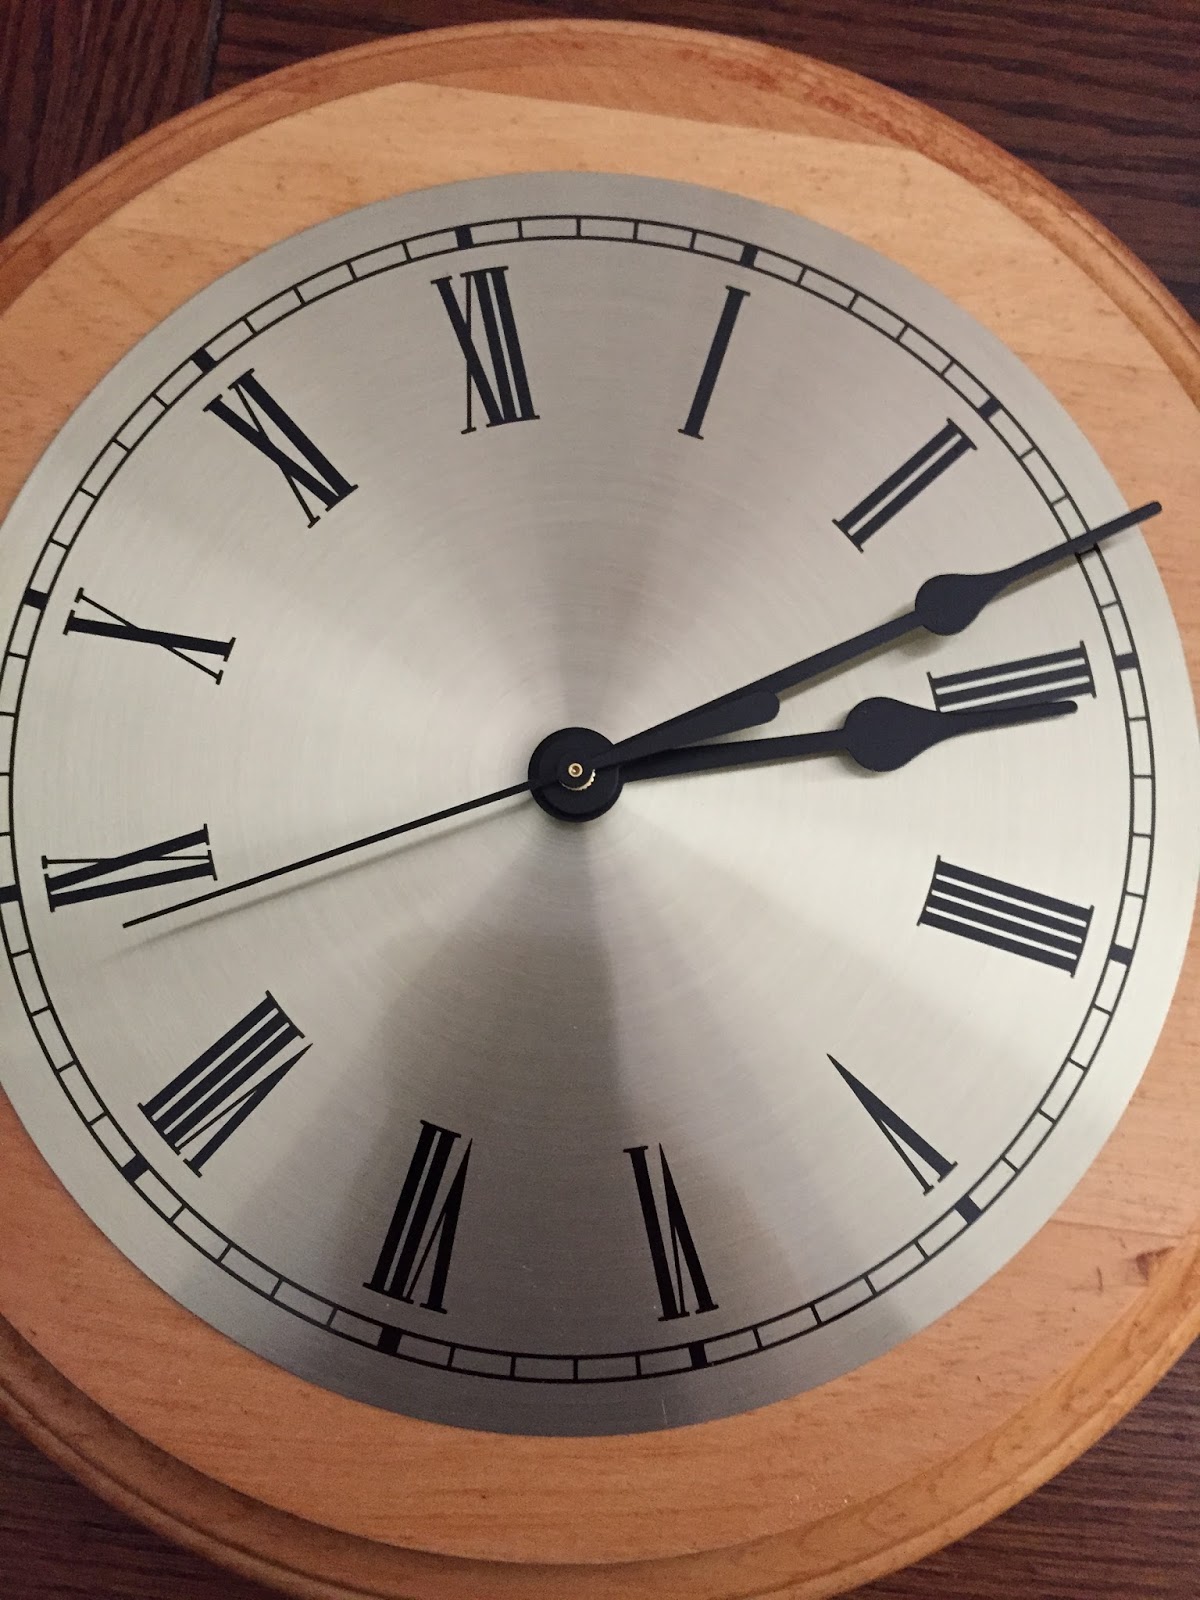
As for my craft side, I've always loved working with my hands. I found some kits and made four wall clocks, giving them out as gifts. These required mechanical clock parts, painting, wood, stain and a whole lot of patience. Here is a clock that I gave to my wife earlier this summer:
I can't say that these projects are for everyone. But I do know that at least for me they provided a much needed respite from my digital world, as well as the ever present television in my home. We all need these breaks; our culture has become so digitized into 140 characters that I fear we will no longer find the time to just talk to one another. Perhaps engaging in coloring or crafts can keep us connected to that very human behavior seemingly lost in the digital noise.